An outdoor kitchen is what separates a simple BBQ grilling session and a fully-prepped dining space. A grill on its own means running back indoors for every plate, knife, and forgotten ingredient, which is why so many of them get used four times a summer.
Adding counter space, storage, and somewhere to put things down changes the whole equation. These outdoor kitchen ideas cover the layout decisions, the materials that survive weather, and the budget builds that get you most of the benefit without a masonry contractor!
Plan on revisiting? Pin this for later!
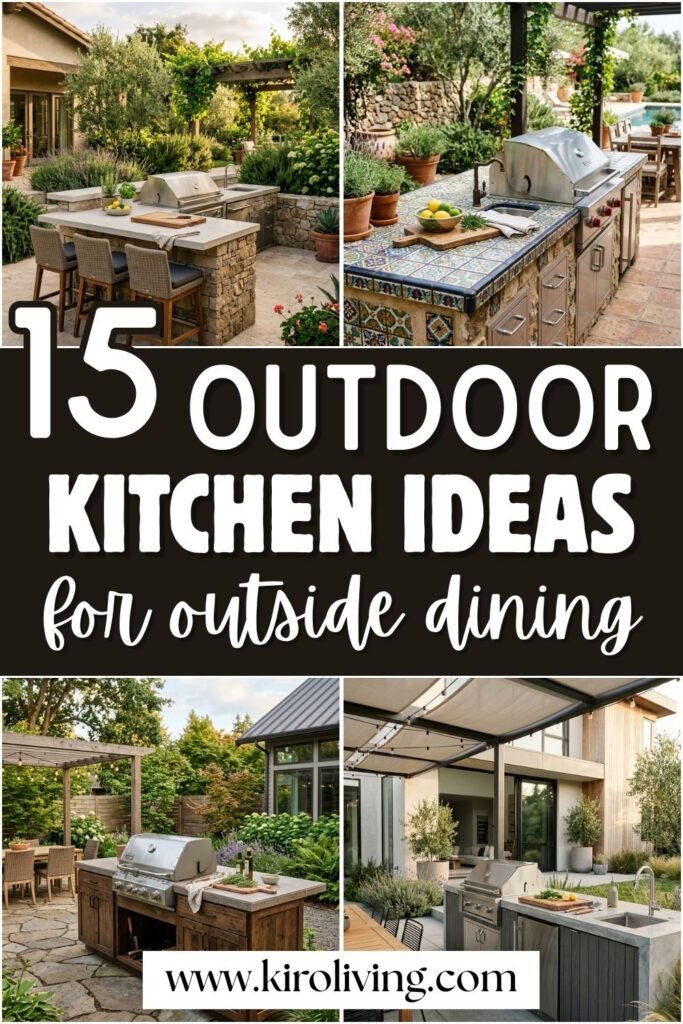
Layout and Placement
1. Match the Layout to the Space
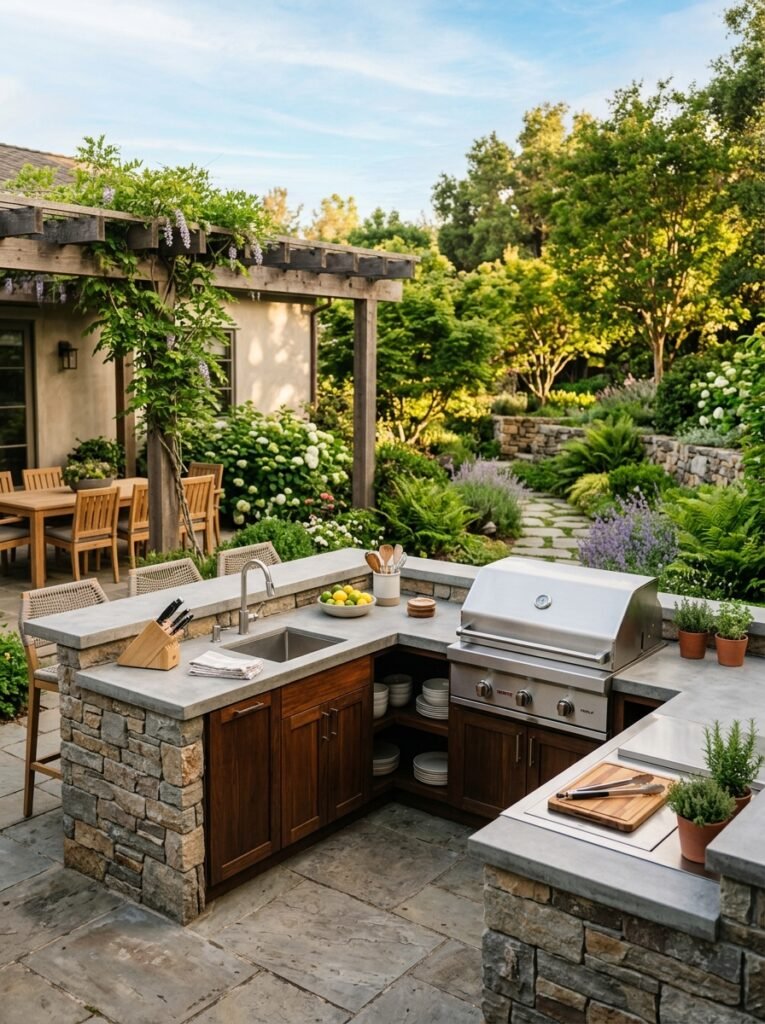
Three layouts cover almost every backyard. A straight run against a wall suits narrow spaces and costs the least to build!
An L-shape separates cooking from prep, which is where most single-run kitchens fall down. A U-shape gives the most counter space but needs real square footage, so measure before committing to it.
2. Keep It Close, But Not Against the House
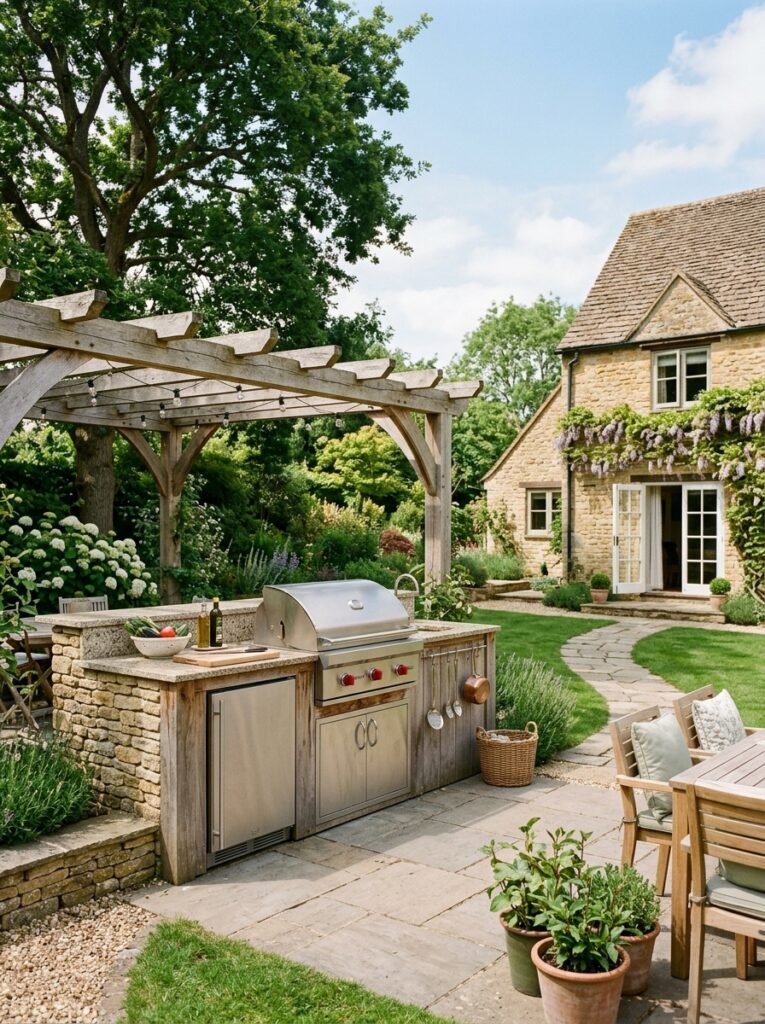
Every step between the outdoor kitchen and the indoor one gets walked a dozen times per meal, so building within reach of the back door keeps the space usable on weeknights.
There’s a limit though, since fire safety guidance puts grills well away from siding, railings, and out from under eaves. Convenient, but not against the wall.
3. Zone It Into Hot, Cold, and Prep
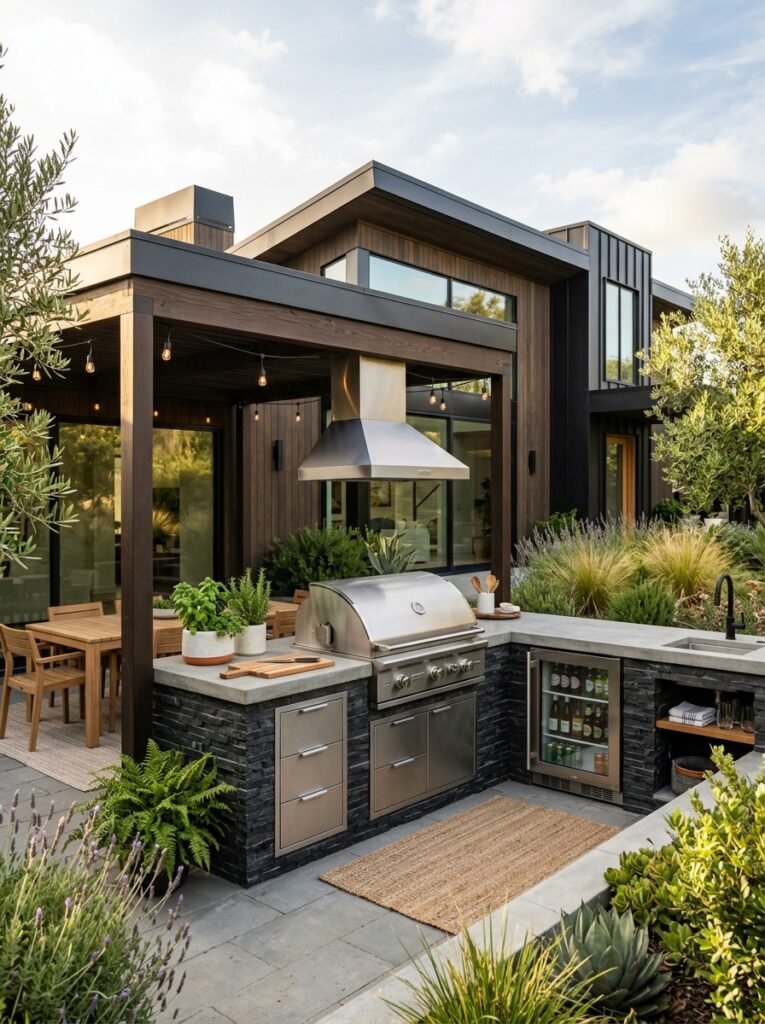
An outdoor kitchen works the same way an indoor one does, so give the grill, the fridge, and the prep counter their own defined areas.
Leaving at least eighteen inches of landing space on both sides of the grill matters most, because that’s where hot pans and raw food need somewhere to go.
4. Check Which Way the Smoke Blows
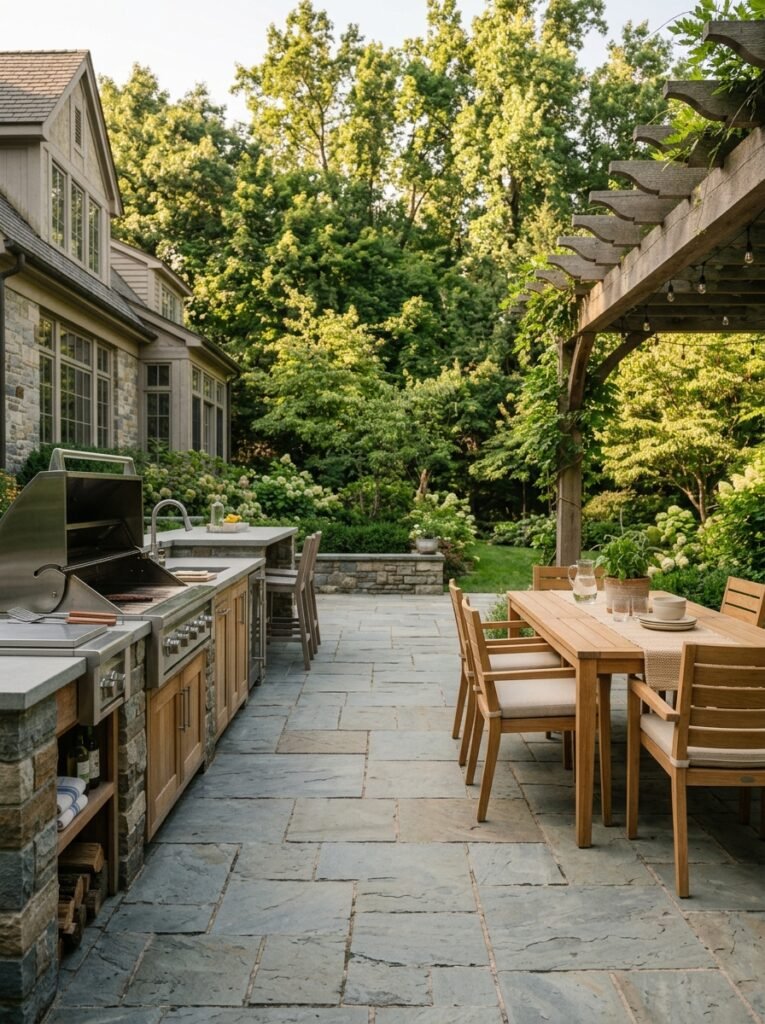
Prevailing wind decides whether your seating area is pleasant or unusable, and it’s the easiest thing to get wrong.
Stand in the space on a breezy day and note the direction before finalising the grill position. Facing the cooking zone away from the dining area and the house keeps smoke out of both.
Countertop and Surface Materials
5. Choose Granite for the Countertop
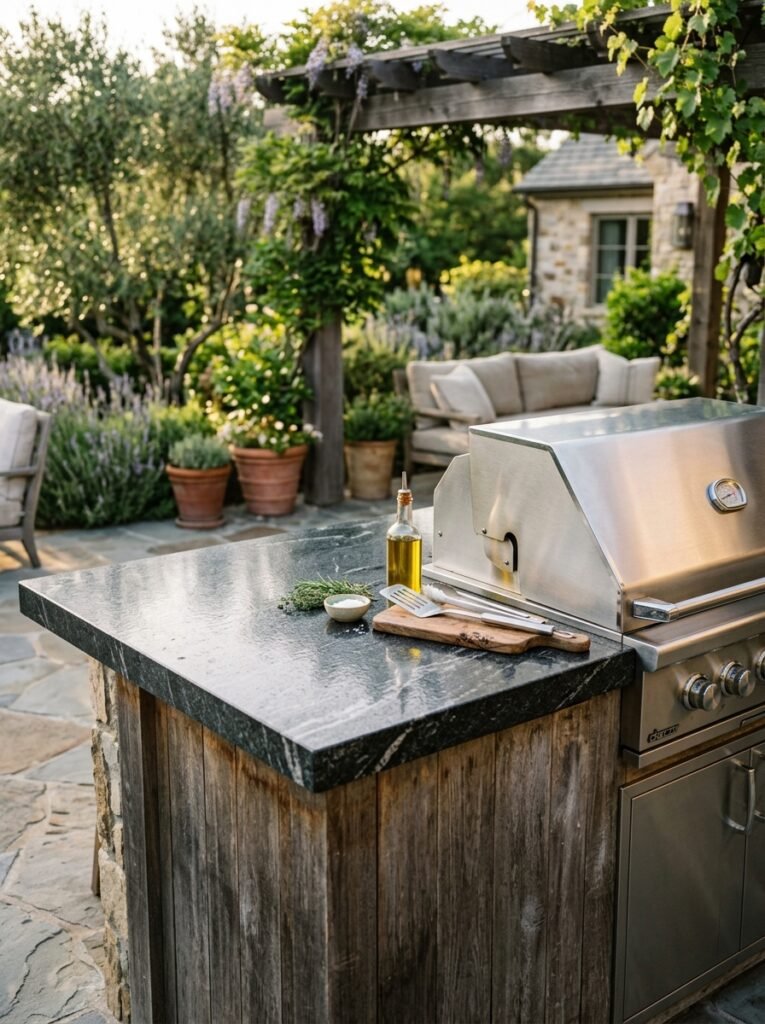
Granite is the default for outdoor kitchens because it handles heat, sunlight, and rain with no effort! Expect somewhere around fifty to eighty dollars per square foot installed.
Sealing it annually keeps stains out, and darker slabs hide marks better, though they also get considerably hotter in direct sun.
6. Pour Concrete for a Custom Look
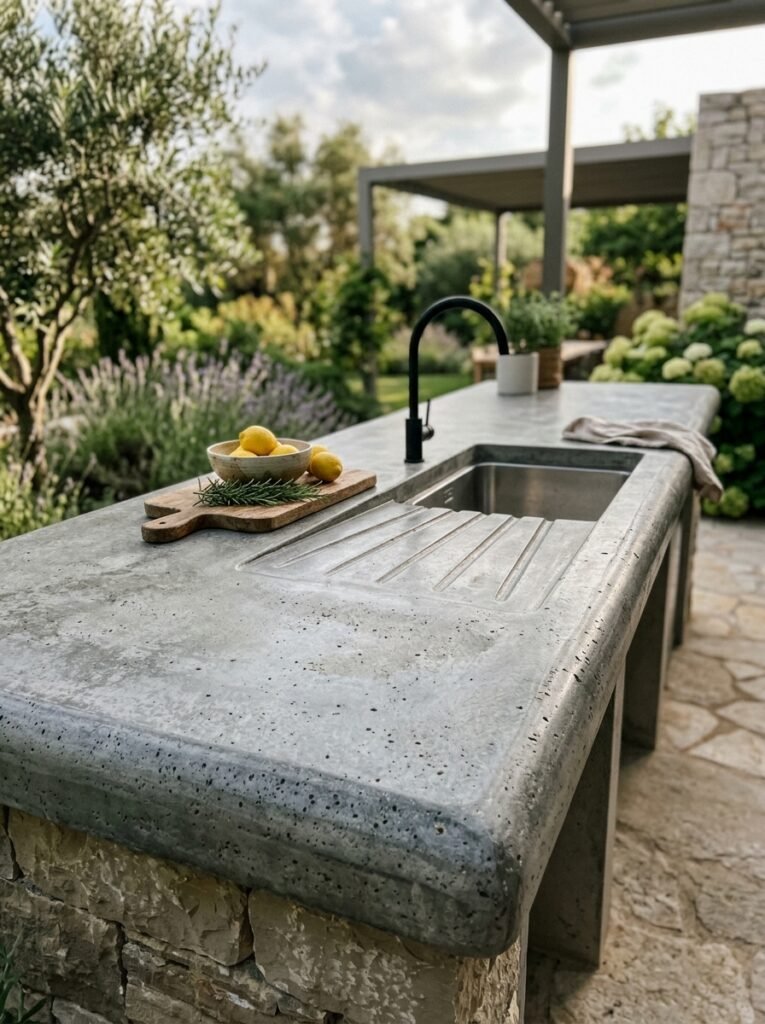
Concrete sits in the middle on price and at the top for flexibility, since it can be cast to any shape and tinted to any colour. Integral drainboards and rounded edges become possible in a way stone slabs never allow.
It does need sealing, because unsealed concrete stains from oil and wine quickly.
7. Tile the Counter on a Budget
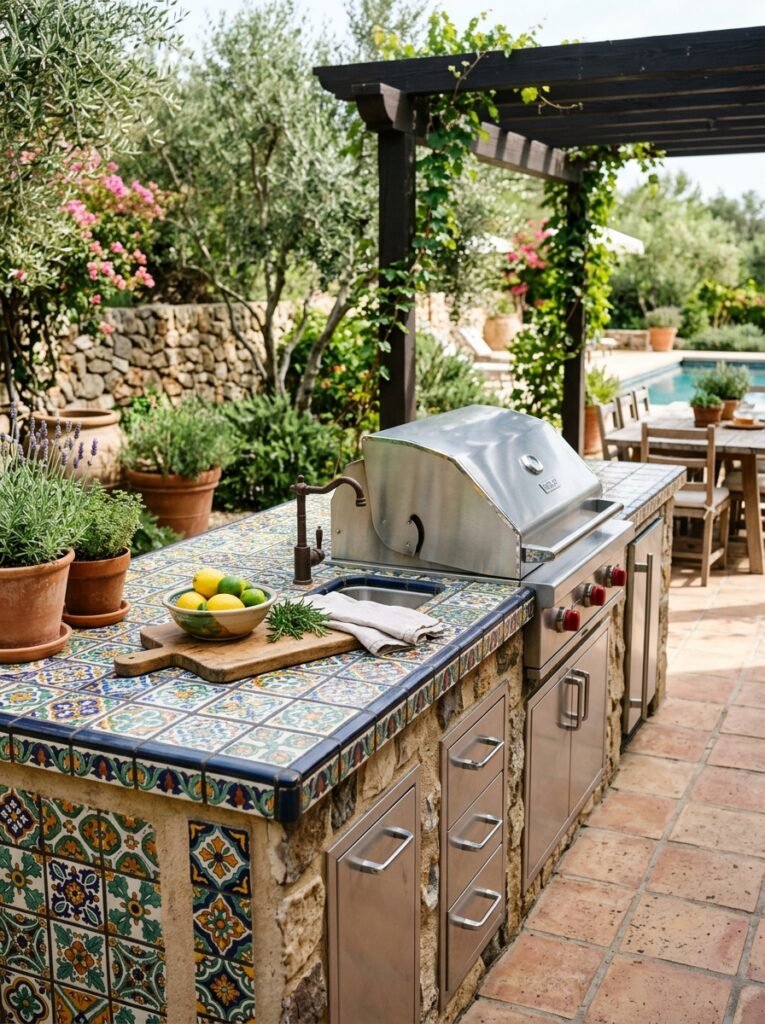
Tile starts around three dollars per square foot, which makes it the cheapest durable surface available. Patterned tile also gives the kitchen a focal point that plain slabs can’t.
The catch is grout, since outdoor grout lines stain and need resealing, so choose a darker colour and accept the maintenance.
8. Skip Marble, Quartz, and Laminate
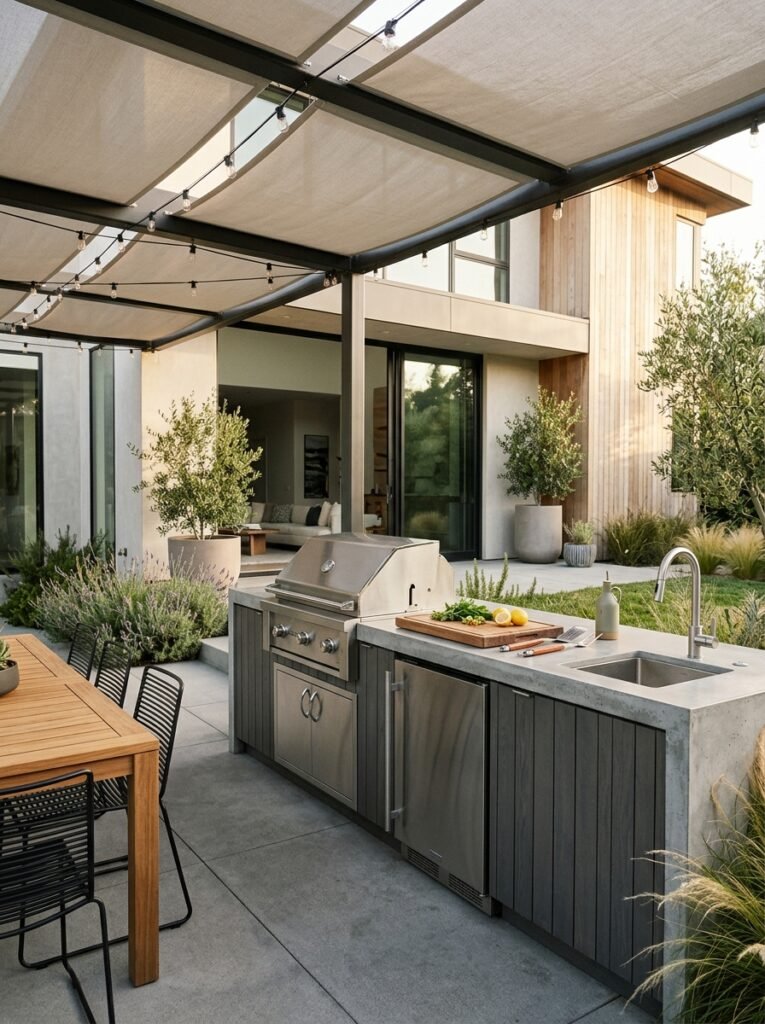
Three common indoor materials fail outdoors. Marble is soft and stains readily, quartz uses pigments that fade under UV, and laminate is particleboard underneath, so it warps and rots within a season.
Manufacturers generally void warranties on quartz used outside, which tells you most of what you need to know.
Budget-Friendly Builds
9. Build a Cinder Block Grill Station
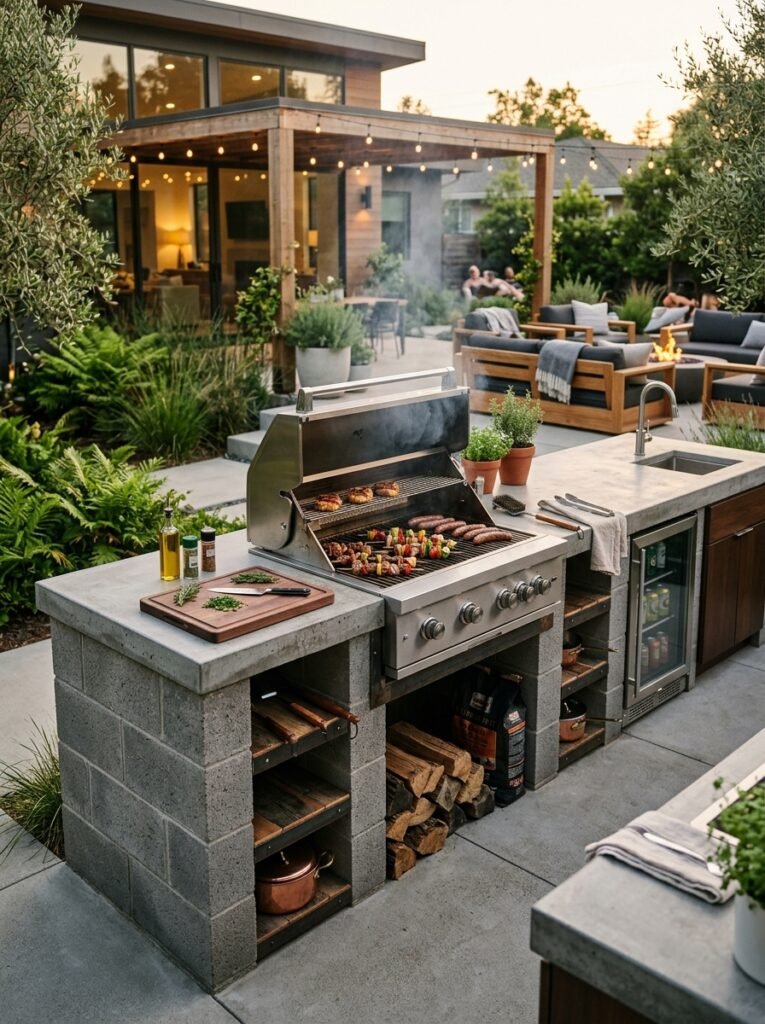
Stacked cinder blocks make a solid, weatherproof base without mortar, so the whole thing can be adjusted or expanded later.
Cap it with a slab or a stainless grate, and add timber planks either side for prep. It costs a fraction of masonry and takes an afternoon!
10. Repurpose Kitchen Base Cabinets
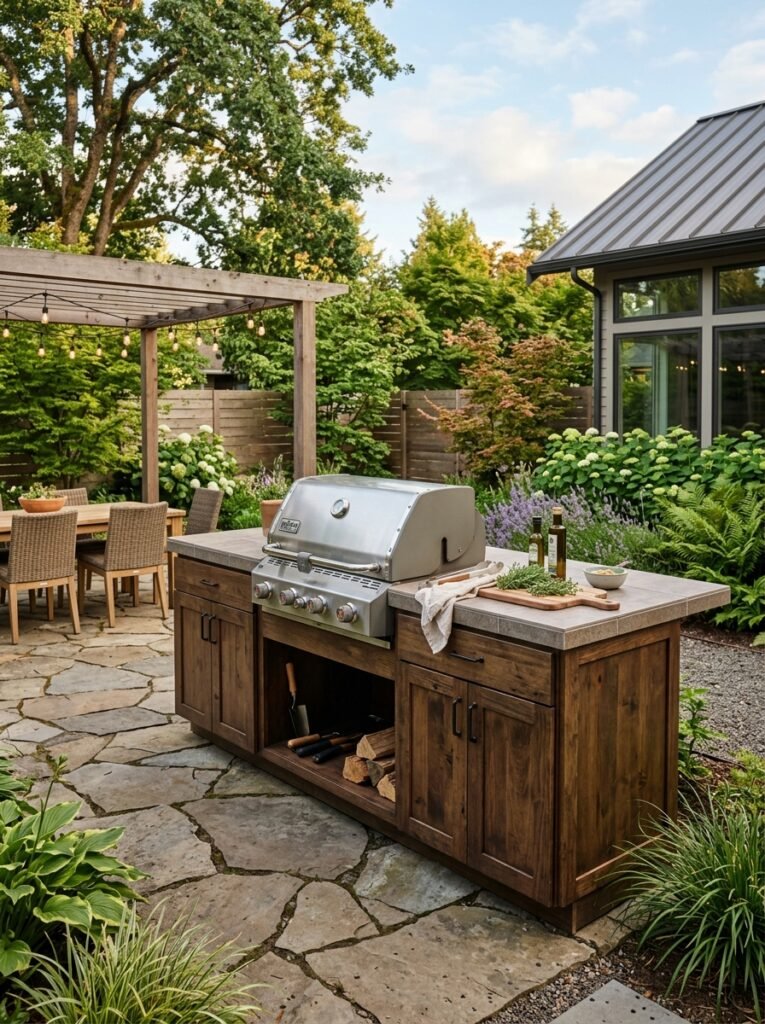
Old kitchen base cabinets make a convincing grill island once they’re sealed and topped with tile or a wood slab.
Marine varnish or exterior paint handles the weatherproofing, and the existing drawers give you storage most budget builds lack.
11. Convert a Rolling Cart
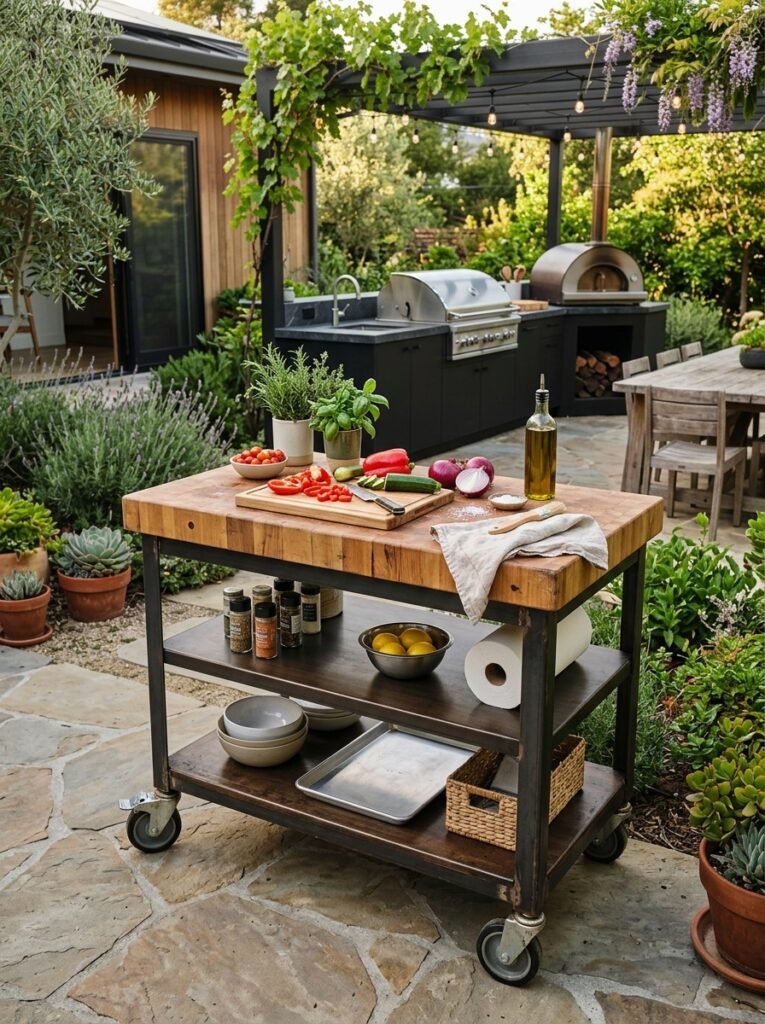
A metal utility cart with a butcher block top becomes a portable prep station that follows the cooking. Hooks along the side hold tools, and the lower shelf takes plates and charcoal.
Rolling it into a shed or garage between uses also solves the weatherproofing problem entirely!
Shelter, Utilities, and Seating
12. Cover the Cooking Zone
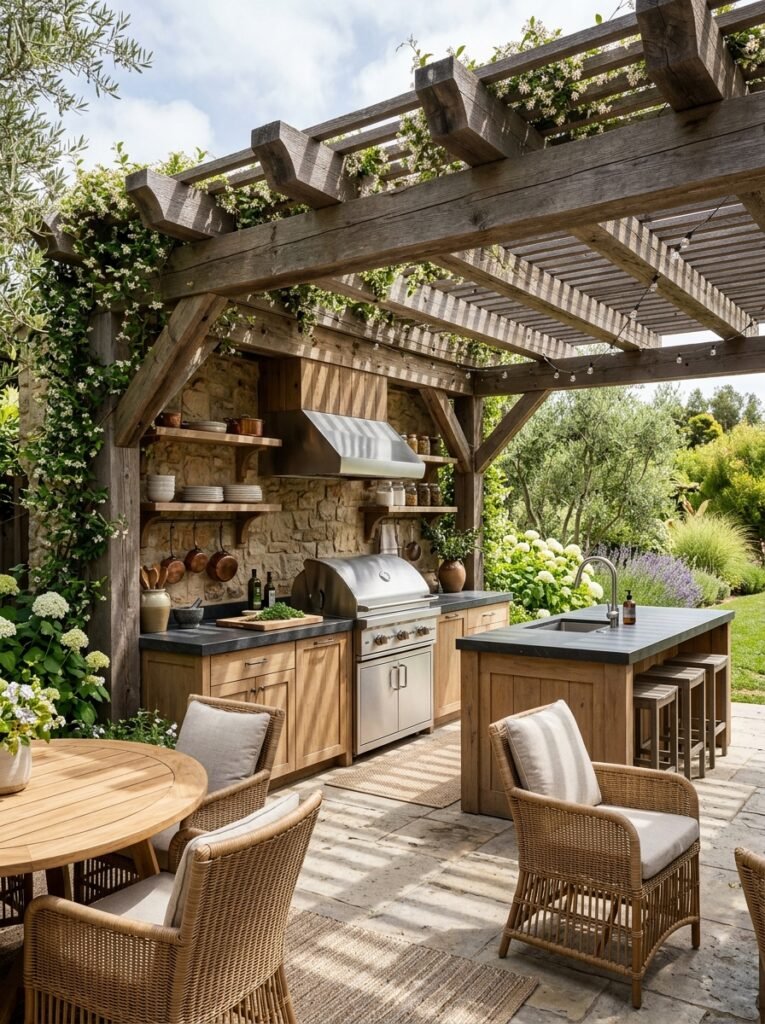
A pergola, roof extension, or even a sail shade turns an outdoor kitchen from a summer-only build into something usable most of the year.
Cover also protects the countertop from UV and rain, which extends the life of every material on this list. Just keep the grill itself properly ventilated.
13. Run Power and Water Before Building
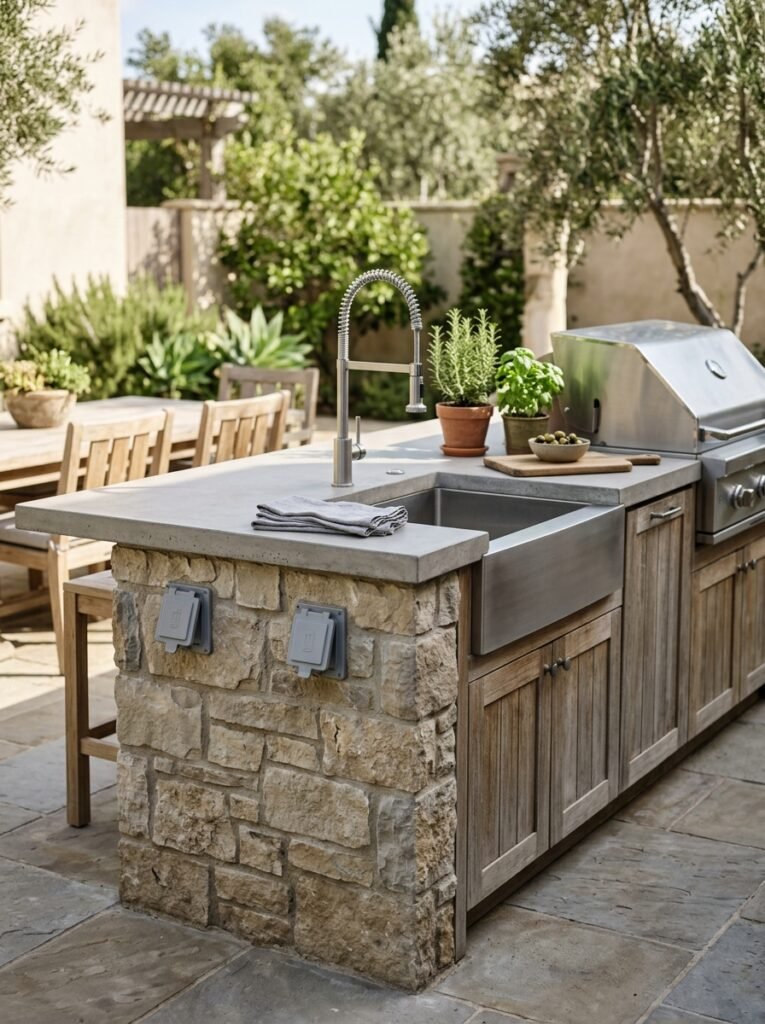
Electrical and plumbing are the expensive parts, and retrofitting them into finished masonry costs considerably more than planning them in.
Decide early whether you want a sink, a fridge, or outlets, because that determines the trenching.
Outdoor circuits need GFCI protection and weatherproof covers, so this is electrician territory.
14. Light It for Evening Cooking
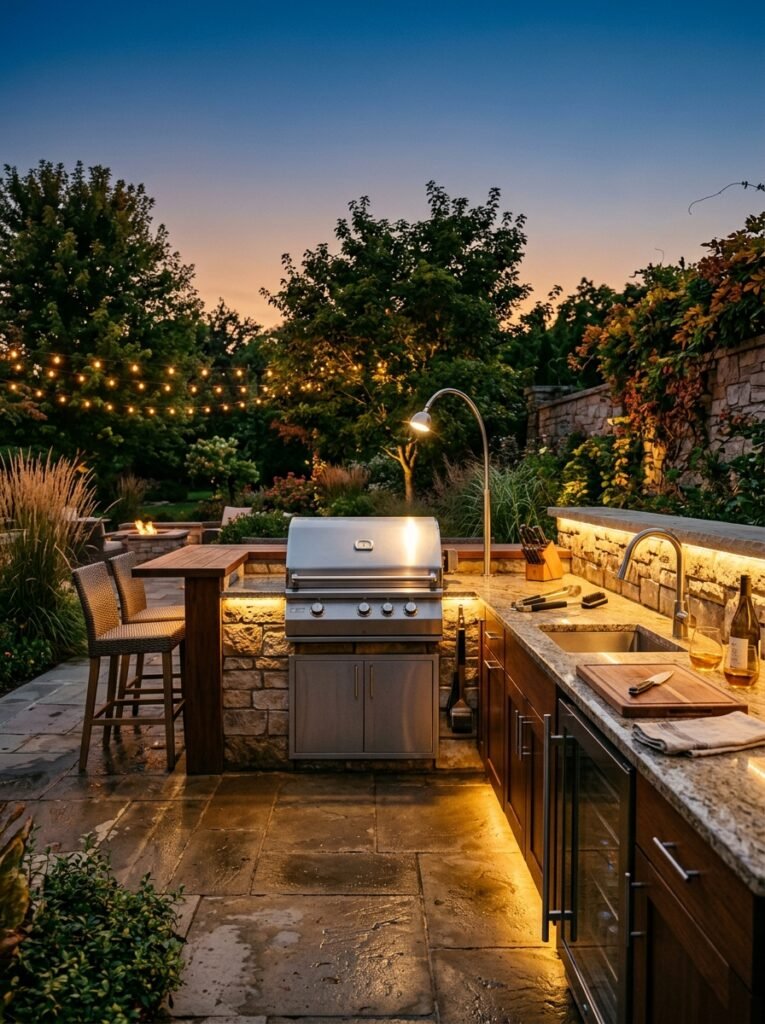
Cooking after dark needs task lighting over the grill and prep counter, not just ambient string lights overhead.
Under-counter LED strips and a directional light on the cooking surface cover it. Warm bulbs on the surrounding lighting keep the space social while the work areas stay bright enough to see by.
15. Add Counter Seating
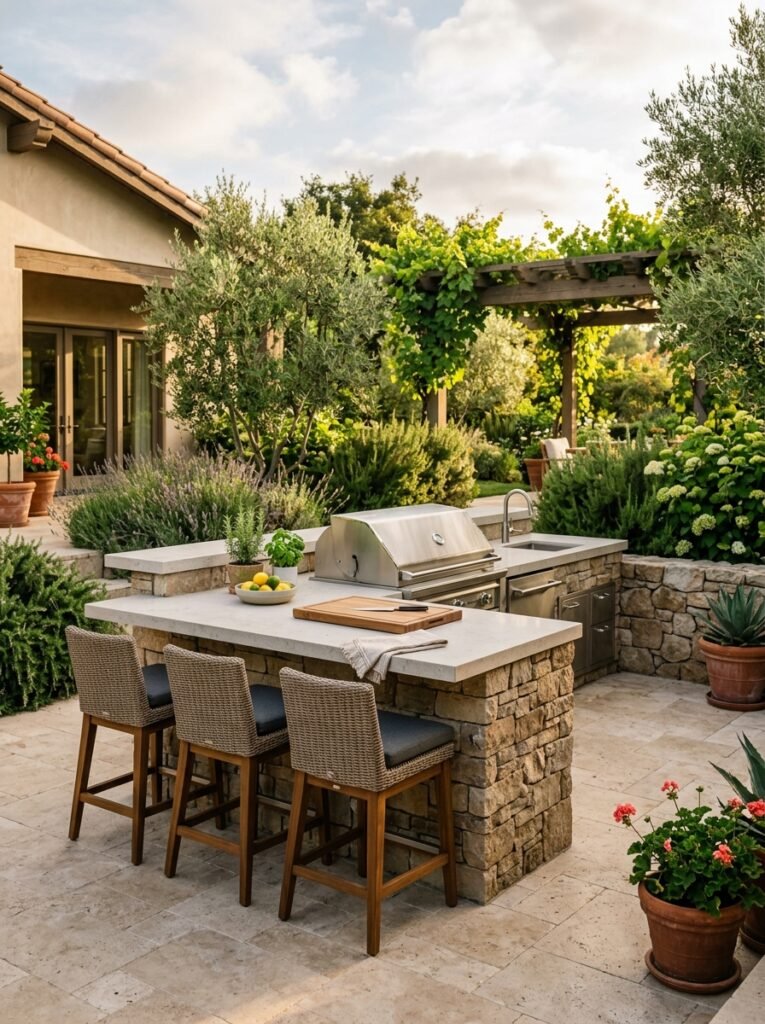
An overhang of twelve to fifteen inches on the outside of the island turns a counter into a bar, which keeps guests nearby without crowding the cook.
Three stools suit most builds! It’s the nicest way to make the kitchen feel like a gathering space to hang out with friends or family!
Final Thoughts on Outdoor Kitchen Ideas
The gap between a grill and an outdoor kitchen is mostly counter space. Everything else on this list is refinement, and plenty of people are perfectly happy with a cinder block base and a tiled top!
So decide the scale honestly before you start pricing anything. A full masonry build with plumbing and appliances runs into serious money and needs trades involved, while a repurposed cabinet island with a good countertop delivers most of the day-to-day usefulness for a fraction of the price.
Get the zones right, leave landing space beside the grill, check the wind, and put the whole thing close enough to the house that using it doesn’t feel like an expedition.
And build in the shelter early if the budget stretches to it. A cover is what turns an outdoor kitchen from a July purchase into something that earns its cost across three seasons!
Outdoor Kitchen Ideas FAQ
It ranges enormously. A DIY cinder block or repurposed cabinet build can come together for a few hundred dollars, while a modest masonry island with a granite top typically runs into the low thousands.
Full builds with plumbing, electrical, and built-in appliances climb well past that, largely because of the trades involved.
Granite is the most recommended, since it resists heat, stains, and UV with minimal fuss, at roughly fifty to eighty dollars per square foot installed.
Concrete and tile are solid alternatives, with tile being the cheapest by a distance. Whatever you choose will need sealing to survive the weather.
Marble stains and etches too readily, quartz fades under UV and usually voids its warranty outdoors, and laminate has a particleboard core that warps and rots.
Untreated wood is also a poor choice unless it’s a hardwood you’re prepared to oil regularly. Stick to granite, concrete, tile, or marine-grade stainless.
A freestanding grill or a simple cart doesn’t need one.
Permits generally come into play once you’re adding gas lines, plumbing, new electrical circuits, or a permanent roofed structure.
Rules vary by area, so a call to your local building department before you start is worth the time.
Fire safety guidance says to keep grills well away from siding, deck railings, and out from under eaves and overhanging branches, with many fire departments suggesting around ten feet.
Balance that against convenience, since every extra step gets walked repeatedly. Close enough to be practical, far enough to be safe.